If you run a blog, you know that good images matter. A blog post with a boring or stock-looking image gets less attention. But hiring a designer or searching for stock photos takes time and money.
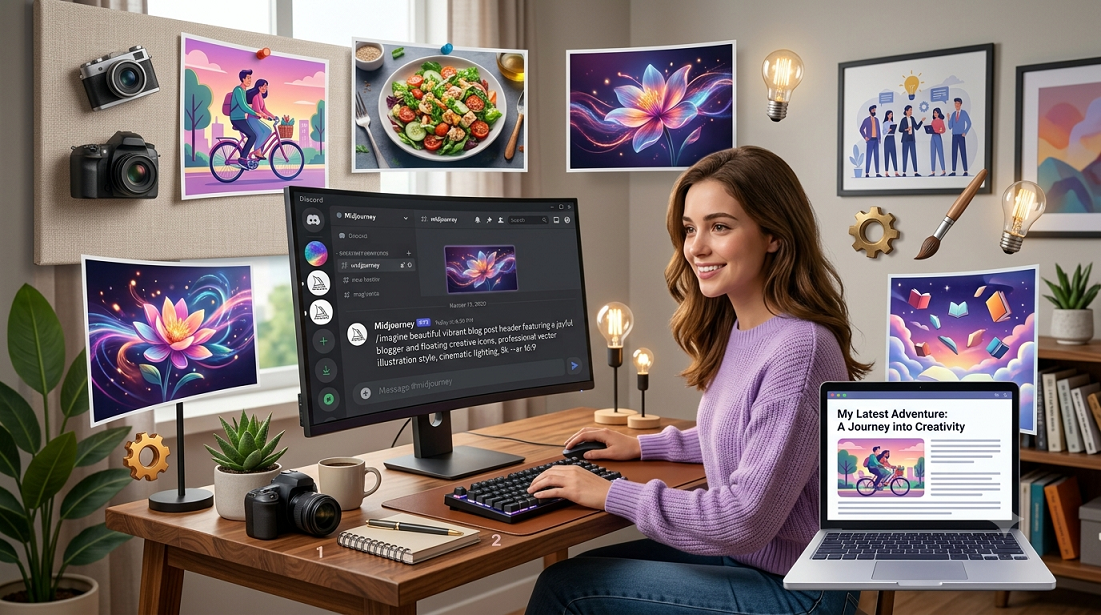
This is where Midjourney comes in. It's an AI tool that creates images from text. You type what you want, and it generates pictures for you. In this post, I'll explain how bloggers can use Midjourney to create blog images, step by step, in simple language.
What Is Midjourney?
Midjourney is an AI image generator. You give it a text description (called a "prompt"), and it creates artwork or photos based on your words. It's known for producing very high-quality, artistic images, which makes it popular with bloggers, designers, and marketers.
You don't need any design skills to use it. You just need to know how to describe what you want clearly.
How Do You Access Midjourney?
Midjourney works mainly through Discord, and also has its own website now where you can generate images directly without Discord. Here's a simple version of how to get started:
- Go to the Midjourney website and create an account.
- Choose a subscription plan (there's no free trial anymore, but plans are affordable for regular use).
- Once you're in, you'll see a prompt box where you can type your image description.
- Type your prompt and wait a few seconds. You'll get four image options to choose from.
That's it. No design software, no editing skills needed to get started.
Step 1: Understand What a "Prompt" Is
A prompt is just the text description you give Midjourney. The better your prompt, the better your image.
For example, instead of typing:
Try typing:
"a steaming cup of coffee on a wooden table, morning light, cozy atmosphere, photography style"
See the difference? The second prompt gives Midjourney more details to work with — the lighting, the mood, the setting. This usually creates a much better image for your blog.
Step 2: Match the Image Style to Your Blog
Before you start typing prompts, think about your blog's overall look. Ask yourself:
- Does my blog use realistic photos, or illustrations, or minimal flat designs?
- What colors do I usually use?
- Is my blog formal (business, finance) or casual (lifestyle, travel)?
Once you know your style, add style keywords to your prompts. For example:
- For realistic photos: add words like "photography," "DSLR," "natural lighting"
- For illustrations: add words like "flat illustration," "vector art," "minimalist"
- For a moody, artistic feel: add words like "cinematic," "dramatic lighting," "film photography"
This keeps your blog images consistent, which makes your blog look more professional over time.
Step 3: Use Simple Formulas for Prompts
If you're not sure how to write a good prompt, use this simple formula:
[Subject] + [Setting/Background] + [Style] + [Lighting/Mood]
Example:
"A laptop on a desk with a notebook and pen, home office setting, minimalist style, soft natural lighting"
This formula works for almost any blog topic — food, travel, technology, finance, lifestyle, and more.
Step 4: Generate Multiple Options
Midjourney usually gives you four images per prompt. Don't settle for the first one. Look at all four, and if none of them work, tweak your prompt slightly and try again.
Small changes in wording can create very different results. For example, changing "bright lighting" to "soft lighting" can completely change the mood of the image.
Step 5: Upscale and Download Your Image
Once you find an image you like, you can upscale it. This means making it bigger and sharper, which is important if you want your blog image to look clear and high-quality, especially for featured images or banners.
After upscaling, you can download the image directly and use it on your blog.
Step 6: Edit Sizes for Your Blog
Midjourney images usually come in square or slightly different sizes than what blogs need. Most blogs need:
- A wide featured image (like 1200x628 for SEO and social sharing)
- Square images for Instagram or Pinterest
- Smaller images for inside blog content
You can use free tools like Canva or Photopea to resize and crop your Midjourney images to the right dimensions for your blog.
Important Things to Keep in Mind
1. Always Check Image Rights for Commercial Use
If you're using Midjourney for a business or money-making blog, make sure your subscription plan allows commercial use. Some lower-tier plans have restrictions, so check the current terms on Midjourney's site before publishing AI images on a monetized blog.
2. Avoid Generating Real People's Faces
Be careful about creating images that look like real, identifiable people, especially public figures. This can cause legal and ethical issues. Stick to general characters, illustrations, or scenes instead.
3. Don't Overuse the Same Style
If every blog image looks exactly the same, readers may notice it's AI-generated and feel like the content is generic. Mix styles a little, and combine AI images with real photos when possible for a more authentic feel.
4. Add Alt Text for SEO
Whatever image you finally use, don't forget to add proper alt text describing the image. This helps your blog's SEO and also helps visually impaired readers using screen readers.
A Few Practical Tips for Bloggers
- Keep a prompt library. Save prompts that worked well for you, so you can reuse and tweak them later instead of starting from scratch every time.
- Generate images in batches. If you're working on multiple blog posts, generate several images in one sitting to save time.
- Use Midjourney for featured images and infographics, not always full illustrations. Sometimes a strong, simple featured image works better than a busy, detailed one.
- Combine Midjourney with simple editing tools. Adding text overlays or your blog logo on top of the image can make it feel more "yours" instead of looking like a random AI picture.
Final Thoughts
Midjourney is a great tool for bloggers who want better images without spending money on stock photos or hiring designers. The key is learning how to write good prompts, keeping your blog's style consistent, and always checking commercial usage rules before publishing.
Start simple. Try a few prompts, compare results, and slowly build your own style. Once you get the hang of it, creating blog images becomes a quick and even fun part of your blogging routine instead of a boring chore.
If you've used Midjourney for your blog, share your favorite prompts or tips in the comments below! Would love to see what's working for other bloggers here.
Tags: Midjourney for bloggers, AI image generator, blog images guide, AI art tools, Midjourney prompts, blog design tips, AI generated images, content creation tools, free blog graphics alternative, AI tools for bloggers 2026